


All Blog Posts

July 8, 2026
Why DIY-ing your stablecoin activation infrastructure is more expensive than you think
Read Article
Read Article
July 8, 2026
Why DIY-ing your stablecoin activation infrastructure is more expensive than you think
Read Article
Read Article

July 8, 2026
Why TRC20 USDT dominates stablecoin transfers (and what it means for payments infrastructure)
Read Article
Read Article
July 8, 2026
Why TRC20 USDT dominates stablecoin transfers (and what it means for payments infrastructure)
Read Article
Read Article

July 6, 2026
Financing the float behind stablecoin deposit infrastructure
Read Article
Read Article
July 6, 2026
Financing the float behind stablecoin deposit infrastructure
Read Article
Read Article

July 3, 2026
Seconds vs days: why transaction speed is a business-critical metric
Read Article
Read Article
July 3, 2026
Seconds vs days: why transaction speed is a business-critical metric
Read Article
Read Article

July 1, 2026
USDT vs USDC: why a dollar isn't always a dollar on-chain
Read Article
Read Article
July 1, 2026
USDT vs USDC: why a dollar isn't always a dollar on-chain
Read Article
Read Article

July 1, 2026
OUSD isn't the end of the stablecoin race. It's the start of a different one.
Read Article
Read Article
July 1, 2026
OUSD isn't the end of the stablecoin race. It's the start of a different one.
Read Article
Read Article

May 29, 2026
Stablecoins go mainstream with LINE NEXT: Unifi builds cross-chain deposits on Rhino.fi
Read Article
Read Article
May 29, 2026
Stablecoins go mainstream with LINE NEXT: Unifi builds cross-chain deposits on Rhino.fi
Read Article
Read Article
May 27, 2026
Rhino.fi powers cross-chain deposits for Plasma One
Read Article
Read Article
May 27, 2026
Rhino.fi powers cross-chain deposits for Plasma One
Read Article
Read Article

March 19, 2026
Introducing 1:1 Stablecoin Swaps 1:1: predictable digital dollars across chains
Read Article
Read Article
March 19, 2026
Introducing 1:1 Stablecoin Swaps 1:1: predictable digital dollars across chains
Read Article
Read Article

March 13, 2026
Rhino.fi x Extended $1B processed through the Rhino Activation Stack
Read Article
Read Article
March 13, 2026
Rhino.fi x Extended $1B processed through the Rhino Activation Stack
Read Article
Read Article

March 9, 2026
Simplifying Cross-Chain Deposits With SuperEarn
Read Article
Read Article
March 9, 2026
Simplifying Cross-Chain Deposits With SuperEarn
Read Article
Read Article

March 6, 2026
Karta Turns Stablecoins Into Spend-Ready Balances
Read Article
Read Article
March 6, 2026
Karta Turns Stablecoins Into Spend-Ready Balances
Read Article
Read Article

March 5, 2026
The infrastructure risk behind stablecoin adoption
Read Article
Read Article
March 5, 2026
The infrastructure risk behind stablecoin adoption
Read Article
Read Article

March 2, 2026
Shift Protocol Enables Cross-Chain Perp Strategies
Read Article
Read Article
March 2, 2026
Shift Protocol Enables Cross-Chain Perp Strategies
Read Article
Read Article

February 27, 2026
Zabio Powers Real-World Stablecoin Payments
Read Article
Read Article
February 27, 2026
Zabio Powers Real-World Stablecoin Payments
Read Article
Read Article

January 29, 2026
Polar Enables Seamless Cross-Chain Onboarding
Read Article
Read Article
January 29, 2026
Polar Enables Seamless Cross-Chain Onboarding
Read Article
Read Article

January 27, 2026
CPAY Builds Flexible Crypto Wallet Infrastructure
Read Article
Read Article
January 27, 2026
CPAY Builds Flexible Crypto Wallet Infrastructure
Read Article
Read Article

January 19, 2026
Scaling Stablecoin Payment Routes With Reveel
Read Article
Read Article
January 19, 2026
Scaling Stablecoin Payment Routes With Reveel
Read Article
Read Article

December 30, 2025
Synthesis Launches Prediction Market With Rhino
Read Article
Read Article
December 30, 2025
Synthesis Launches Prediction Market With Rhino
Read Article
Read Article
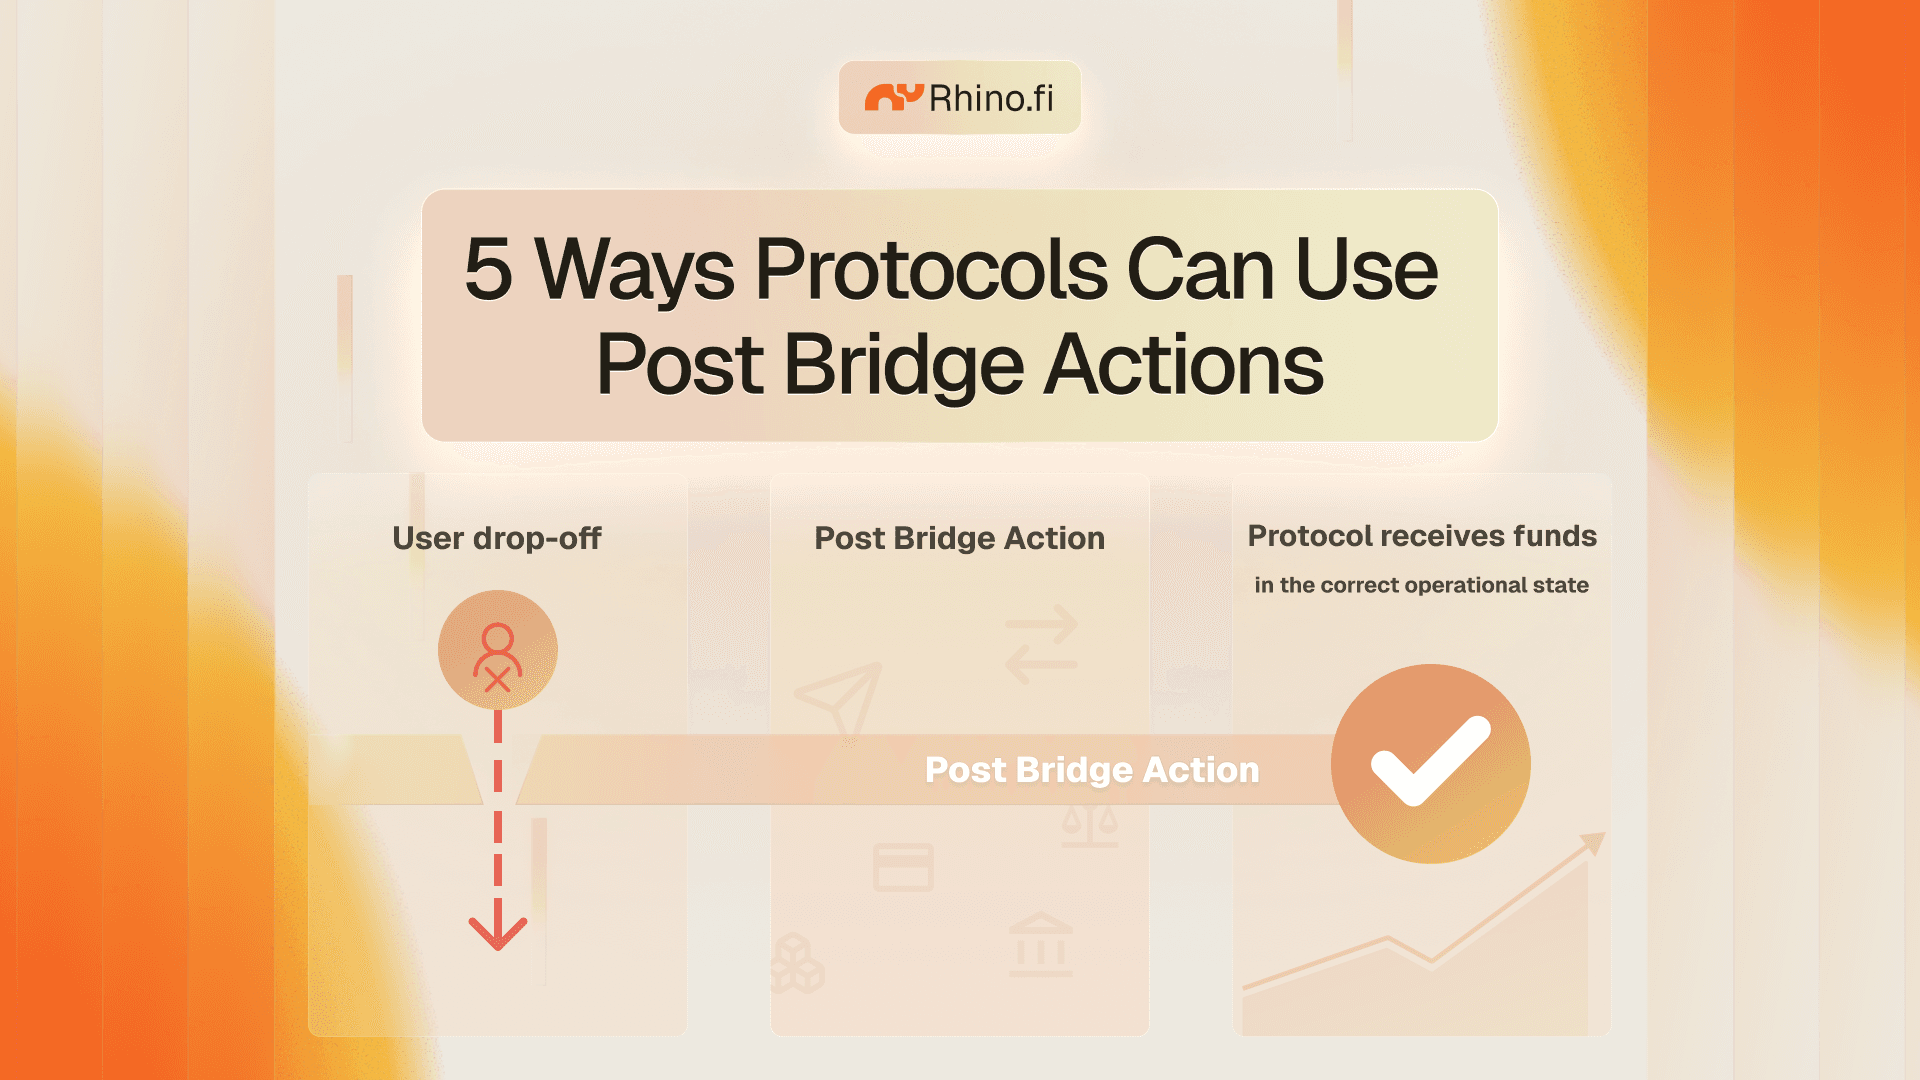
December 12, 2025
5 Ways Protocols Can Use Post Bridge Actions
Read Article
Read Article
December 12, 2025
5 Ways Protocols Can Use Post Bridge Actions
Read Article
Read Article
December 10, 2025
Wirex Enables Multichain Stablecoin Access
Read Article
Read Article
December 10, 2025
Wirex Enables Multichain Stablecoin Access
Read Article
Read Article

December 1, 2025
The Great Migration to Digital Money Has Begun
Read Article
Read Article
December 1, 2025
The Great Migration to Digital Money Has Begun
Read Article
Read Article

December 1, 2025
Post Bridge Actions Explained: How They Work
Read Article
Read Article
December 1, 2025
Post Bridge Actions Explained: How They Work
Read Article
Read Article

November 28, 2025
Blockradar Scales Stablecoin Deposits With Rhino
Read Article
Read Article
November 28, 2025
Blockradar Scales Stablecoin Deposits With Rhino
Read Article
Read Article

November 25, 2025
Introducing Post Bridge Actions
Read Article
Read Article
November 25, 2025
Introducing Post Bridge Actions
Read Article
Read Article

November 18, 2025
Single-Click Onboarding at Scale: Case Study
Read Article
Read Article
November 18, 2025
Single-Click Onboarding at Scale: Case Study
Read Article
Read Article

November 4, 2025
Smart Deposit Addresses Now Support Solana
Read Article
Read Article
November 4, 2025
Smart Deposit Addresses Now Support Solana
Read Article
Read Article

October 21, 2025
Zero-Slippage Stablecoin Swaps With Smart Addresses
Read Article
Read Article
October 21, 2025
Zero-Slippage Stablecoin Swaps With Smart Addresses
Read Article
Read Article

October 10, 2025
Monetic Enables Instant Borderless Payments
Read Article
Read Article
October 10, 2025
Monetic Enables Instant Borderless Payments
Read Article
Read Article

October 2, 2025
BTCfi Launches on Starknet With BTC Yield Access
Read Article
Read Article
October 2, 2025
BTCfi Launches on Starknet With BTC Yield Access
Read Article
Read Article

September 25, 2025
Plasma Stablecoin Chain Launches With Day-One Access
Read Article
Read Article
September 25, 2025
Plasma Stablecoin Chain Launches With Day-One Access
Read Article
Read Article

September 22, 2025
5 Ways to Use Smart Deposit Addresses
Read Article
Read Article
September 22, 2025
5 Ways to Use Smart Deposit Addresses
Read Article
Read Article

August 22, 2025
Bridge as a Service
Read Article
Read Article
August 22, 2025
Bridge as a Service
Read Article
Read Article

August 18, 2025
Choosing the Right Cross-Chain Bridge Model
Read Article
Read Article
August 18, 2025
Choosing the Right Cross-Chain Bridge Model
Read Article
Read Article

August 8, 2025
Accept Stablecoins From Any Chain With One Address
Read Article
Read Article
August 8, 2025
Accept Stablecoins From Any Chain With One Address
Read Article
Read Article

July 28, 2025
Bridge to Morph with Rhino.fi
Read Article
Read Article
July 28, 2025
Bridge to Morph with Rhino.fi
Read Article
Read Article

June 30, 2025
Introducing Katana: The Yield-Focused L2 on Polygon
Read Article
Read Article
June 30, 2025
Introducing Katana: The Yield-Focused L2 on Polygon
Read Article
Read Article

June 26, 2025
Rhino.fi 2025: Unifying Global Stablecoin Liquidity
Read Article
Read Article
June 26, 2025
Rhino.fi 2025: Unifying Global Stablecoin Liquidity
Read Article
Read Article

June 19, 2025
GRVT Unlocks Seamless Multichain Onboarding
Read Article
Read Article
June 19, 2025
GRVT Unlocks Seamless Multichain Onboarding
Read Article
Read Article

June 5, 2025
Bridge to Plume – Fee Free for One Week
Read Article
Read Article
June 5, 2025
Bridge to Plume – Fee Free for One Week
Read Article
Read Article

May 1, 2025
Go anywhere in DeFi in one click
Read Article
Read Article
May 1, 2025
Go anywhere in DeFi in one click
Read Article
Read Article

April 25, 2025
Paradex Vaults Explained: Unlock Full Potential
Read Article
Read Article
April 25, 2025
Paradex Vaults Explained: Unlock Full Potential
Read Article
Read Article

April 25, 2025
Cross-Chain Access to Paradex With Rhino Bridge
Read Article
Read Article
April 25, 2025
Cross-Chain Access to Paradex With Rhino Bridge
Read Article
Read Article

April 14, 2025
How to Bridge to Paradex: Step-by-Step Guide
Read Article
Read Article
April 14, 2025
How to Bridge to Paradex: Step-by-Step Guide
Read Article
Read Article

April 7, 2025
What Is Paradex? Perpetual Trading Explained
Read Article
Read Article
April 7, 2025
What Is Paradex? Perpetual Trading Explained
Read Article
Read Article

April 2, 2025
Bridge to the New Celo L2 Before Everyone Else
Read Article
Read Article
April 2, 2025
Bridge to the New Celo L2 Before Everyone Else
Read Article
Read Article

February 24, 2025
Sonic Airdrop Guide: How to Earn Sonic Points
Read Article
Read Article
February 24, 2025
Sonic Airdrop Guide: How to Earn Sonic Points
Read Article
Read Article

February 18, 2025
Sonic Points Aidrop Guide
Read Article
Read Article
February 18, 2025
Sonic Points Aidrop Guide
Read Article
Read Article

February 14, 2025
Bridge to Soneium: For Less Than $1!
Read Article
Read Article
February 14, 2025
Bridge to Soneium: For Less Than $1!
Read Article
Read Article

January 6, 2025
Bounty for Phishing Recovery
Read Article
Read Article
January 6, 2025
Bounty for Phishing Recovery
Read Article
Read Article

October 31, 2024
Bridge to ApeChain With Fast Cross-Chain Access
Read Article
Read Article
October 31, 2024
Bridge to ApeChain With Fast Cross-Chain Access
Read Article
Read Article

October 10, 2024
Taiko Safari – Bridge to Taiko, Earn Extra Rewards
Read Article
Read Article
October 10, 2024
Taiko Safari – Bridge to Taiko, Earn Extra Rewards
Read Article
Read Article

October 9, 2024
Bridge to Scroll Fast and Boost Your Airdrop Odds
Read Article
Read Article
October 9, 2024
Bridge to Scroll Fast and Boost Your Airdrop Odds
Read Article
Read Article

September 25, 2024
Bridge to TON – fee free for 2 weeks!
Read Article
Read Article
September 25, 2024
Bridge to TON – fee free for 2 weeks!
Read Article
Read Article

September 9, 2024
Rhino Nation: Unlock Exclusive Rewards
Read Article
Read Article
September 9, 2024
Rhino Nation: Unlock Exclusive Rewards
Read Article
Read Article

September 3, 2024
Rhino.fi and Across integration
Read Article
Read Article
September 3, 2024
Rhino.fi and Across integration
Read Article
Read Article

August 7, 2024
Plan for DVF purchase
Read Article
Read Article
August 7, 2024
Plan for DVF purchase
Read Article
Read Article

June 20, 2024
Rhino Alpha Key: Unlocking ultra low-cost bridging
Read Article
Read Article
June 20, 2024
Rhino Alpha Key: Unlocking ultra low-cost bridging
Read Article
Read Article

May 27, 2024
Bridge to Taiko – free on rhino.fi
Read Article
Read Article
May 27, 2024
Bridge to Taiko – free on rhino.fi
Read Article
Read Article

May 9, 2024
New Bridge to Solana: Instant $WIF Rewards!
Read Article
Read Article
May 9, 2024
New Bridge to Solana: Instant $WIF Rewards!
Read Article
Read Article

April 16, 2024
X Layer – bridge fee free for 2 weeks
Read Article
Read Article
April 16, 2024
X Layer – bridge fee free for 2 weeks
Read Article
Read Article

April 1, 2024
Memecoin madness: 2,000,000 $TOSHI up for grabs
Read Article
Read Article
April 1, 2024
Memecoin madness: 2,000,000 $TOSHI up for grabs
Read Article
Read Article

February 29, 2024
Bridge to Blast – fee free for 4 weeks
Read Article
Read Article
February 29, 2024
Bridge to Blast – fee free for 4 weeks
Read Article
Read Article
February 20, 2024
Blast – Explore New Projects
Read Article
Read Article
February 20, 2024
Blast – Explore New Projects
Read Article
Read Article

February 14, 2024
Starknet Provisions Program airdrop eligibility
Read Article
Read Article
February 14, 2024
Starknet Provisions Program airdrop eligibility
Read Article
Read Article

February 1, 2024
New bridge announcement: ZetaChain
Read Article
Read Article
February 1, 2024
New bridge announcement: ZetaChain
Read Article
Read Article

January 25, 2024
New bridge announcement: Tron
Read Article
Read Article
January 25, 2024
New bridge announcement: Tron
Read Article
Read Article

January 20, 2024
The Rhino Run: Layer 2 Stampede
Read Article
Read Article
January 20, 2024
The Rhino Run: Layer 2 Stampede
Read Article
Read Article

January 16, 2024
Tether and Rhino Alliance Expands USDT Utility
Read Article
Read Article
January 16, 2024
Tether and Rhino Alliance Expands USDT Utility
Read Article
Read Article

January 15, 2024
Bridge to Avalanche With Zero Fees for Two Weeks
Read Article
Read Article
January 15, 2024
Bridge to Avalanche With Zero Fees for Two Weeks
Read Article
Read Article

December 5, 2023
zkSync Holiday Takeover – Bridge for free
Read Article
Read Article
December 5, 2023
zkSync Holiday Takeover – Bridge for free
Read Article
Read Article

November 29, 2023
Next steps for our Token: the future of DVF
Read Article
Read Article
November 29, 2023
Next steps for our Token: the future of DVF
Read Article
Read Article

November 9, 2023
A Vision for DVF - Background & Updates
Read Article
Read Article
November 9, 2023
A Vision for DVF - Background & Updates
Read Article
Read Article

November 9, 2023
Bridge to Starknet – No bridge fees for 2 weeks
Read Article
Read Article
November 9, 2023
Bridge to Starknet – No bridge fees for 2 weeks
Read Article
Read Article

October 19, 2023
rhino.fi: Fast, Fresh, and Unstoppable!
Read Article
Read Article
October 19, 2023
rhino.fi: Fast, Fresh, and Unstoppable!
Read Article
Read Article

October 17, 2023
Bridge to Scroll – No bridge fees for a month
Read Article
Read Article
October 17, 2023
Bridge to Scroll – No bridge fees for a month
Read Article
Read Article

October 12, 2023
Frictionless Bridging to L2 Rollups With Caldera
Read Article
Read Article
October 12, 2023
Frictionless Bridging to L2 Rollups With Caldera
Read Article
Read Article

October 12, 2023
Masters of Manta quest
Read Article
Read Article
October 12, 2023
Masters of Manta quest
Read Article
Read Article

September 28, 2023
Safari Bounty Quest: Explore Arbitrum and WIN $ARB
Read Article
Read Article
September 28, 2023
Safari Bounty Quest: Explore Arbitrum and WIN $ARB
Read Article
Read Article

September 25, 2023
Base Activity Tracker
Read Article
Read Article
September 25, 2023
Base Activity Tracker
Read Article
Read Article

September 22, 2023
zkSync Bridge Bonanza
Read Article
Read Article
September 22, 2023
zkSync Bridge Bonanza
Read Article
Read Article

September 20, 2023
Bridging Beyond EVM: Rhino’s Starknet Expansion
Read Article
Read Article
September 20, 2023
Bridging Beyond EVM: Rhino’s Starknet Expansion
Read Article
Read Article

September 20, 2023
Understanding Cross-Chain Bridging with Rhino.fi
Read Article
Read Article
September 20, 2023
Understanding Cross-Chain Bridging with Rhino.fi
Read Article
Read Article

September 19, 2023
Bridge to Arbitrum Nova – fee free for 48 hours
Read Article
Read Article
September 19, 2023
Bridge to Arbitrum Nova – fee free for 48 hours
Read Article
Read Article

September 12, 2023
Bridge to Manta Pacific fee free
Read Article
Read Article
September 12, 2023
Bridge to Manta Pacific fee free
Read Article
Read Article